
Time tracking: start and stop a timer
Track work time live instead of estimating it afterwards. Takes under a minute once the time tracking module is active for your organization.
- You're signed in and your organization has the "Time Tracking" module activated.
- Optional: an existing task you want to attribute the time to.
- 1
Select or clear a task
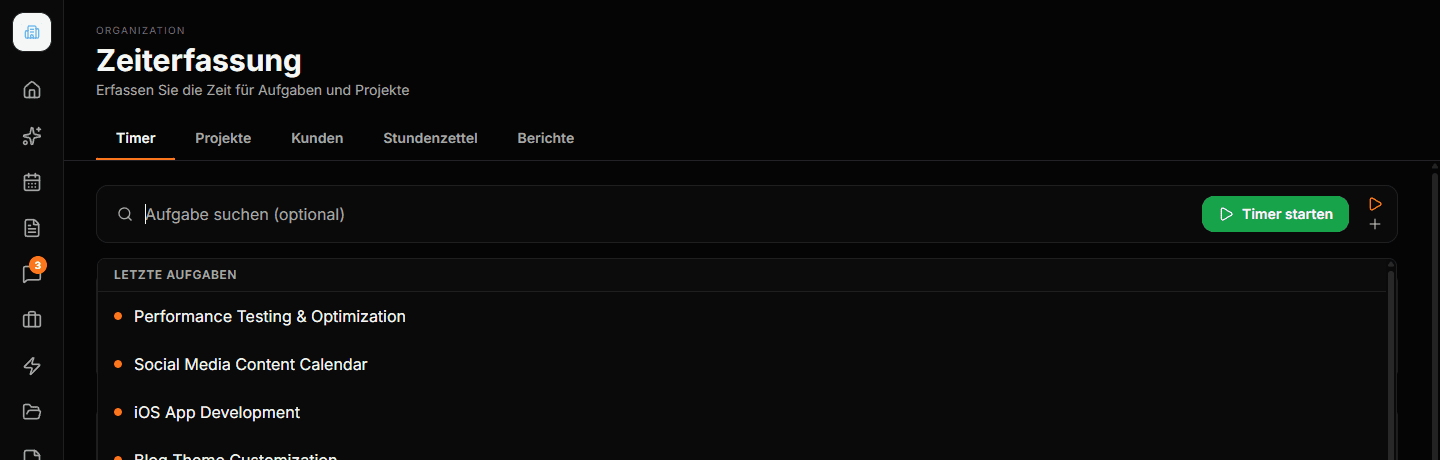
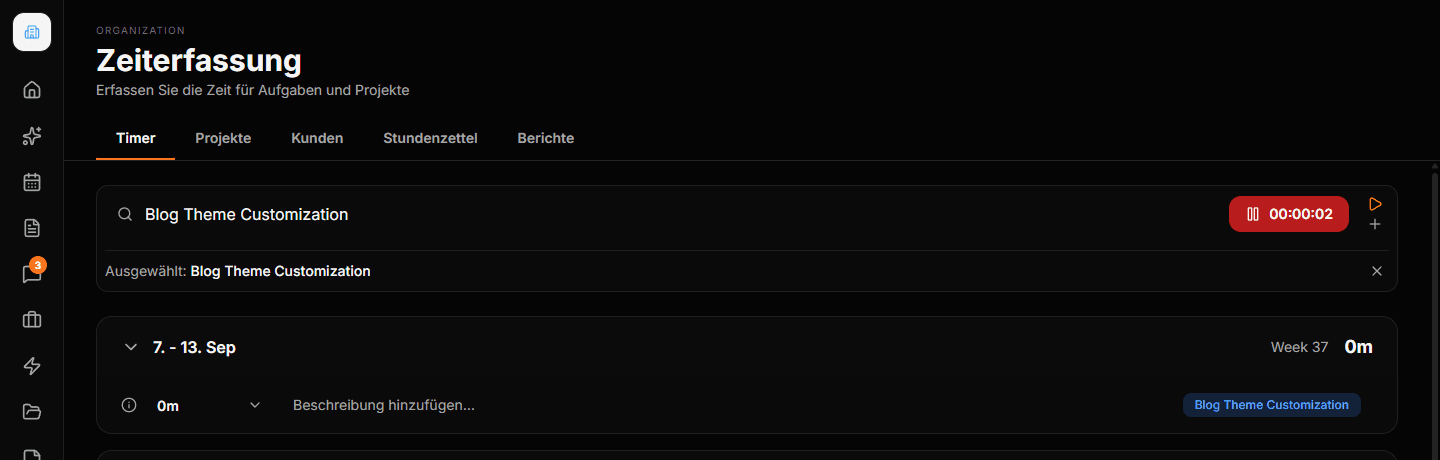
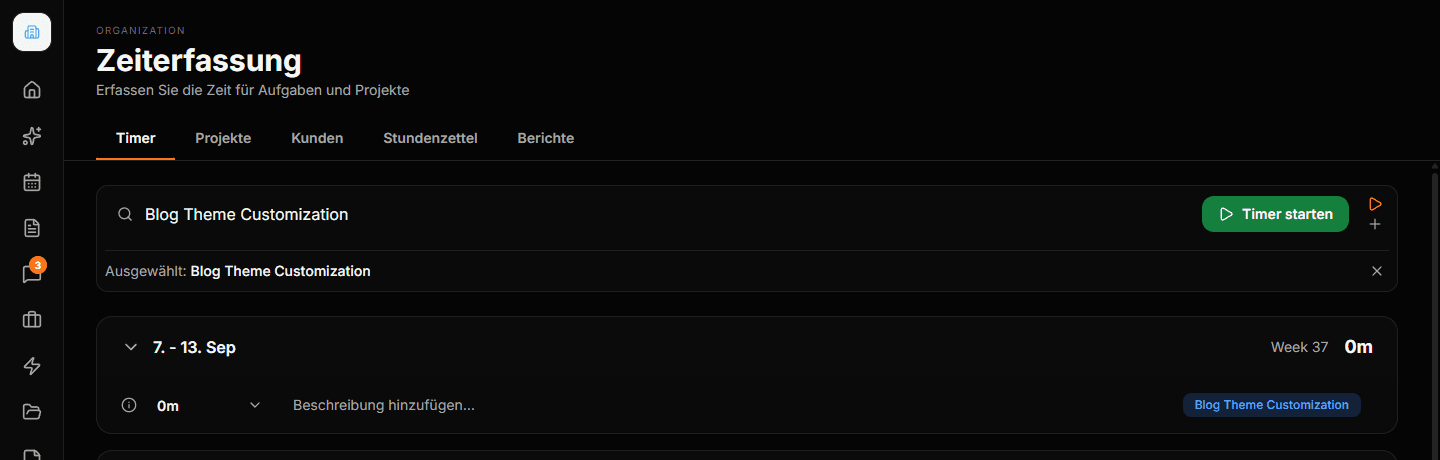
Use the Search task (optional) field to see recent and all tasks. Search by name or create a task directly if there is no match. The association is optional. Once selected, the task appears below the bar; use the X beside it to remove the selection before you report time or start the timer.
- 2
Start a timer directly from Tasks
You don't need to open time tracking first: hover a task card in the task board and select its Play icon. This starts a timer for that task immediately and opens time tracking on the Timer tab.
- 3
Edit and delete saved entries
The list below the bar is grouped by calendar week. Select a description, duration or date to edit it. An entry's arrow menu lets you edit time, select a task or delete the entry. Select No task to only remove the assignment. In selection mode, you can mark and delete several entries together. The app asks for confirmation before each individual or bulk deletion.
- 4
Continue an entry from today
Hover a completed entry from today to reveal a green Play icon. It starts a new timer using the same description, task and project association. A running entry shows a Stop icon instead.
- 5
Understand the time tracking tabs
Use the tabs at the top to switch between Timer, Projects, Customers, Timesheets and Reports. Timer is where you create and manage individual time entries; Projects, Customers and Reports are for analysis, and Timesheets is the weekly overview.
- 6
Log time manually
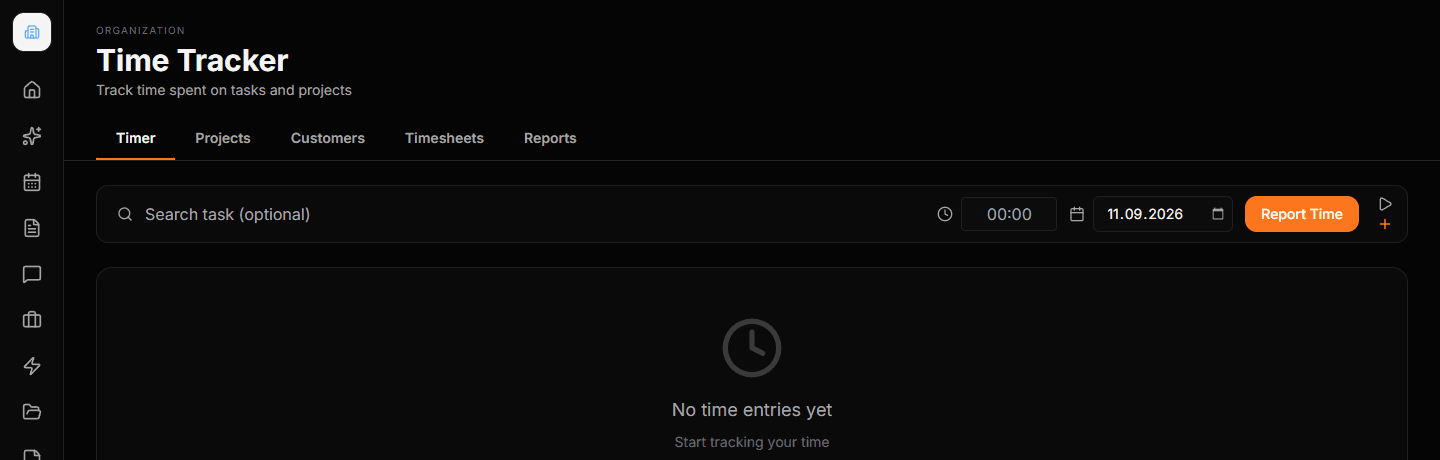
The bar starts in manual entry mode, not live-timer mode. Optionally select a task, enter a duration and date, then select Report Time. The field accepts values such as 90 for 90 minutes or 1:30 and formats them as hours:minutes when you leave the field.
- 7
Open time tracking
Open "Time Tracking" from the main menu (route /time), "Timer" tab. The bar starts in manual entry mode by default (enter a duration + date, "Report Time" button) — not the live timer.
- 8
Switch to the timer
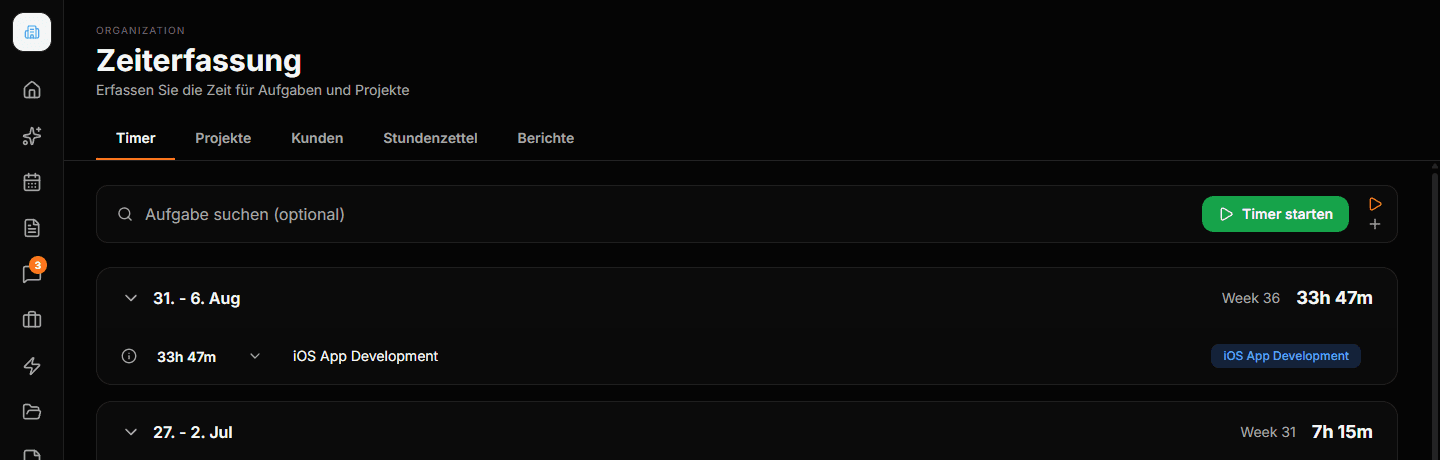
Click the small icon on the right of the bar (stacked Play/Plus icon) to switch from "Manual Entry" to "Timer". The bar now shows a green "Start Timer" button instead of the manual fields.
- 9
Assign a task (optional)
Click the "Search task (optional)" field to see recent or all tasks and pick one. This is entirely optional — the timer runs fine without an assigned task.
- 10
Start the timer
Click "Start Timer". The button turns red and starts showing the running time in hours:minutes:seconds, and the new entry immediately appears at the top of the list as "Running…".
- 11
Stop the timer
Click the same button again (now red, showing the running time) once you're done. It turns green again, and the entry is saved with its start and end time.
Manual mode is active by default, not the timer
The bar always opens in manual entry mode. Without switching via the small Play/Plus icon, you're logging a fixed duration instead of tracking live.
No required fields to start
Neither a task nor a description is needed to start the timer. You can add a description directly on the running entry via "Add description…".
Deleting an entry asks for confirmation
"Delete entry" on any time entry (running or not) removes it — a confirmation dialog asks once more first, then it's gone for good.
More articles are coming soon.